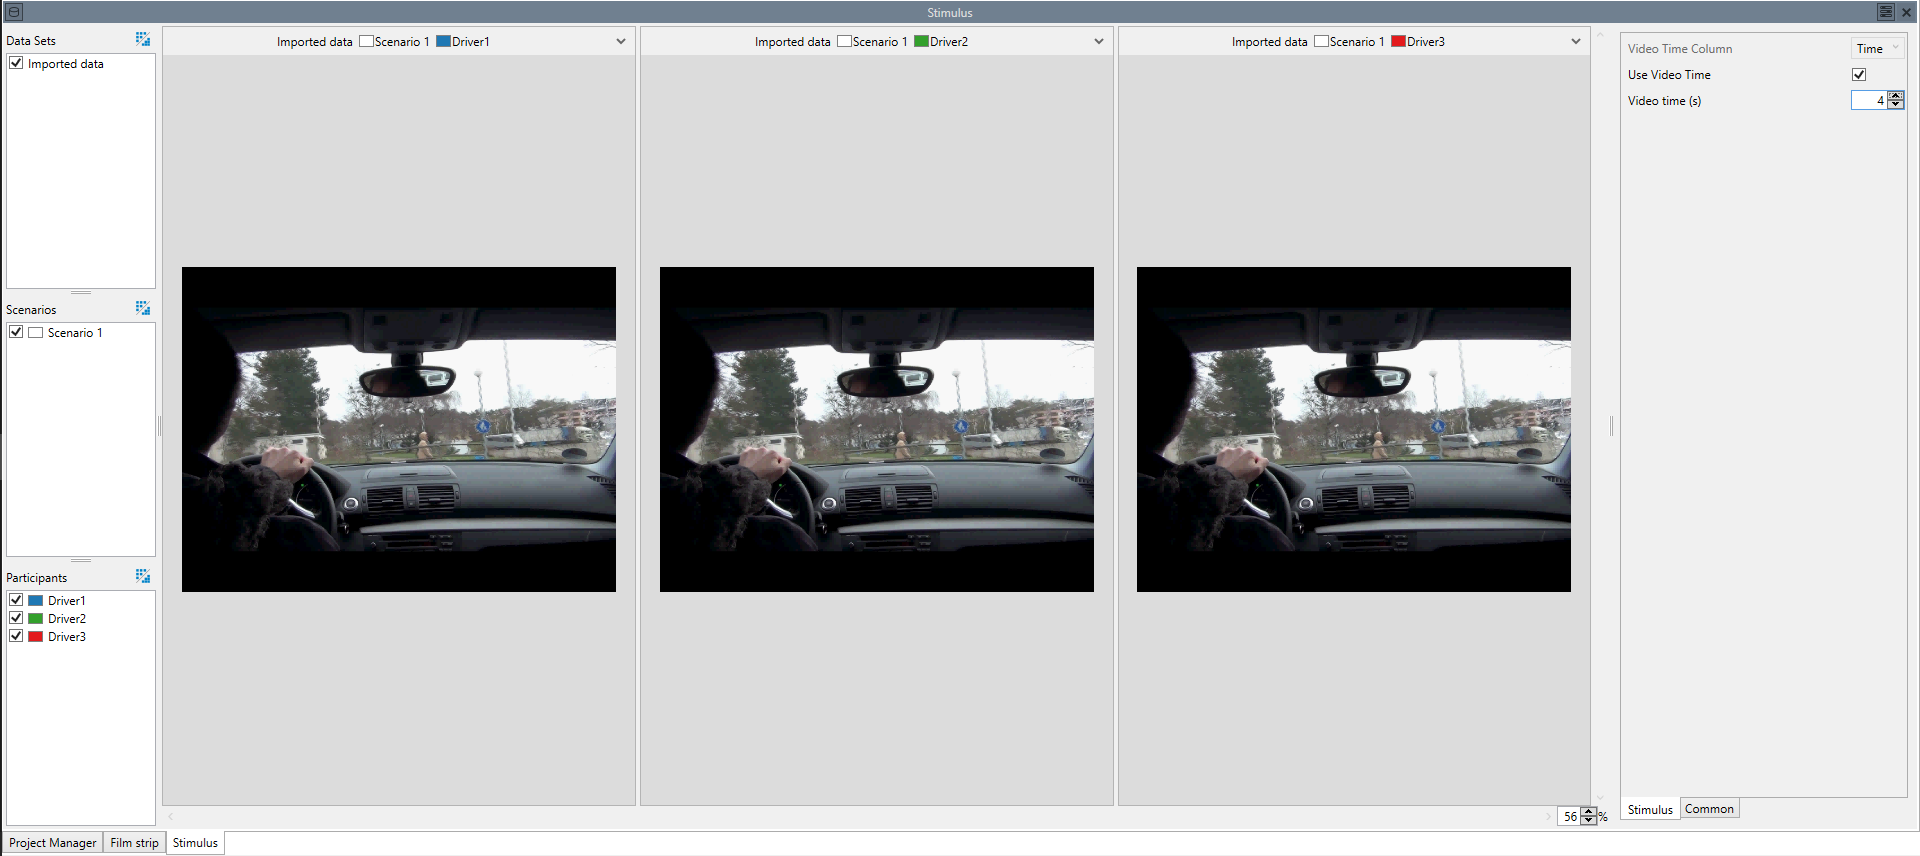
Stimulus Visualization
The stimulus visualization displays a simple still image. It is mostly used as a backdrop for scan path and heat map visualizations. The stimulus visualization can display either simple images, or a single frame of a video, if the selected data has a video as an associated stimulus. The stimulus visualization requires that a video stimulus is associated to the data (See Project Manager).
Aggregation
The stimulus visualization is able to aggregate, but only if the selected data sets / scenarios / participants are associated with the same stimulus. In that case the stimulus is drawn only once.
Settings
- Video Time Source:
- Determines, how the frame of the video that is being displayed is determined. There are three different options:
- Manual:
- Allows you to manually set a time via the Video Time setting.
- Start:
- The first frame of the displayed data area is used. Note, that this is not necessarily the first frame of the video. If you are using a marking as an input, the value in the Video Time Column at the start of that marking is used.
- Cursor:
- The value in the Video Time Column is used, but at the current cursor position. Note that this setting is only relevant, if the stimulus visualization is displayed in the same window as a time-based visualization. If no such visualization exists in the same window, the "Cursors" setting has the same effect as the "Start" setting.
- Video Time Column:
- Determines the origin of the time of the video frame that is displayed if the displayed stimulus is a video and the Video Time Source is either "Start" or "Cursor".
- Video Time Factor:
- A factor that can be used to adapt the video time before it is used. Normally, there should be no need to set this value to anything other than 1, if the time unit is set correctly for the video time. It can be used to adjust the video time, if you only have a time column that does not properly sync to the video time.
- Video Time Offset:
- This value can be used to offset the start of the video regarding the start of the data. This value is assumed to be in the same time unit as the Time Column. If the unit of the Time Column is unknown, or if the Time Column is a TimeStamp or DateTime value, the Offset is assumed to be given in seconds.
- Video time (s):
- If "Use Video Time" is true, use this specific time in the video for the displayed frame.
- Media Selection:
Determines, how the media, that are being displayed, are selected. There are three different options:
- Project:
- The media are selected according to the stimulus association you can set in the Project Manager.
- Column:
- The names of the media files is read from the selected Stimulus Column. This is useful, if you have an experiment where several stimuli are associated with the same participants and cannot meaningfully be split into different scenarios. If possible, it is normally preferable to use different stimuli as different scenarios. Note, that in order to select a stimulus from a column, you need to either have a visualization with a cursor in the same window as the stimulus visualization, or you need to have grouped the data according to the stimulus column with a Group Node.
- Manual:
- You can select the media via the Manual Media Association.
Note that regardless of the setting, all media need to be have been added in the Project Manager, even if they are used via the "Column" or "Manual" option and thus no association is set in the Project Manager.
- Stimulus Column:
- Selects the column from which a stimulus name is read if "Column" is selected as the Stimulus Selection. Note that for this to work, the stimuli need to have been loaded in the Project Manager, although an association with a Scenario or Participant is not necessary.
- Manual Media Association:
- Associates media with scenario/participant combinations, if Stimulus Selection is "Manual". This setting can be used, if you have several media files per scenario/participant combination and want to display another one than is associated in the Project Manager.
